1890’s Style Rocking Horse
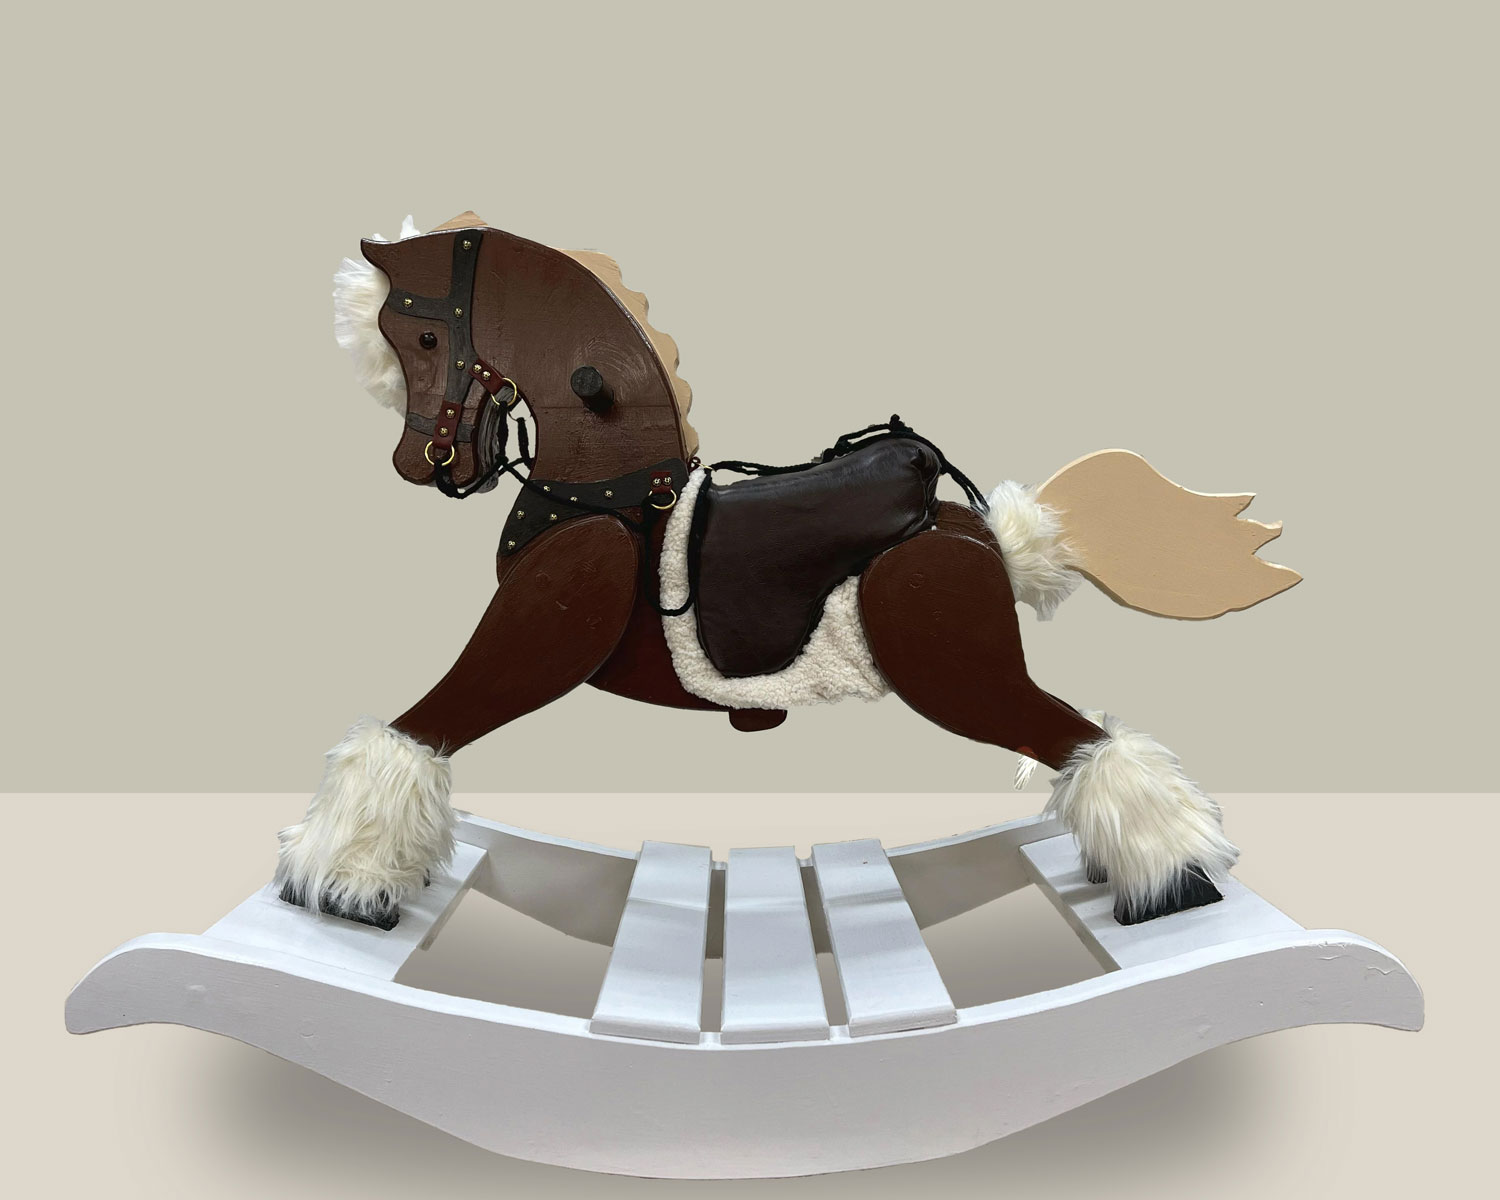
This Christmas I decided I would have a go at building a rocking horse for my kids. I have 5 sons, 4 of which are under 7 years old. So when building I wanted to make sure that they could all ride on it. I also have big kids, which meant I needed to scale up the design quite a bit.
I went with the classic 1890’s plans, and scaled them up to 135%. Printed them on 11 x 17 paper, and then produced a set of templates out of 1/8″ MDF Core Birch Plywood. I figured I would make a set of templates, in case I need to make another horse down the road. (I also cut a set of original sized plans as a backup)
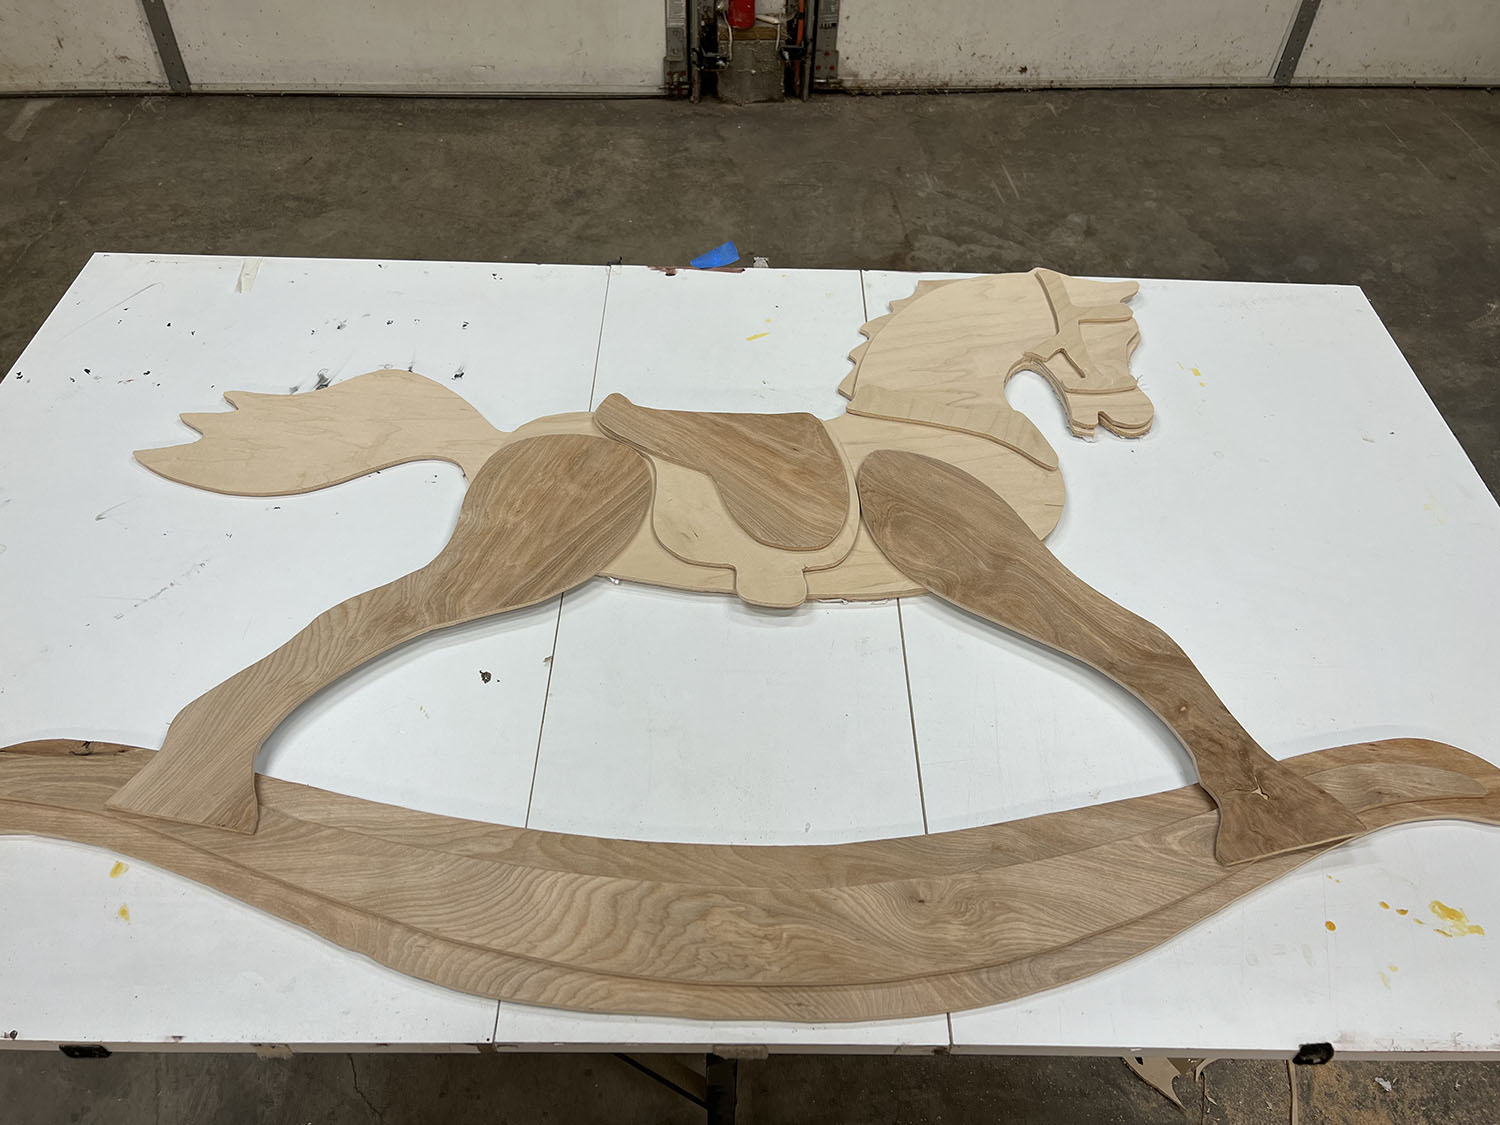
Having the template also gave me a good idea of who large the final project would be.
Being this big meant 1 of 2 things. Either I needed to join and edge boards, or make it out of plywood. Since I have about 10 sheets of 3/4″ left over I went with that. I was able to cut about 90% out of a single 8×4 sheet, so this worked out pretty well.
Now – in my head the plan was to
1) rough cut the pieces.
2) apply painters tape and CA glue to the tape and temporarily join them together to cut
3) use my big band saw with a 3/16 blade to cut the pieces right on the lines…
However once I had cut two pieces, I soon realized that would *never* work. Too big, too heavy and so I went back to my jig saw… I ended up cutting it all out using my jigsaw.
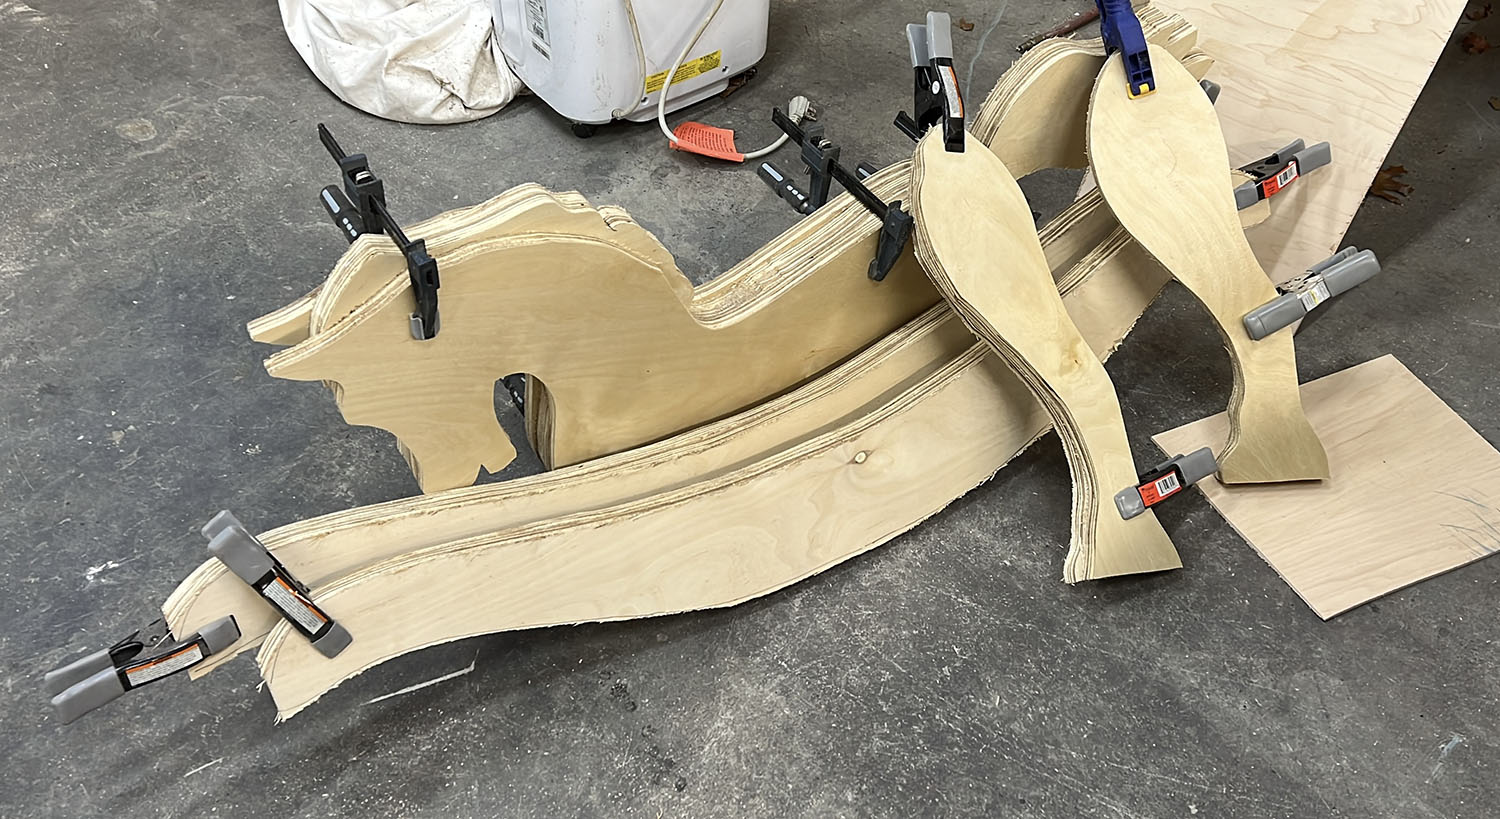
With the pieces all rough cut, I realized I hadnt cut enough and the sides needed to be doubled up. So I ended up using a second sheet of plywood. I think had I planned better I might have been able to squeeze more out of the first sheet and gotten away with one. But this wasn’t too much of an issue.
Next up, with the additional pieces cut, I needed to rough assemble the horses body. Since each piece was cut independently, each piece was “unique”… So I figured the most important place to line up was the head, ears, mouth – since my eventual plan was to cover the seat area anyway.
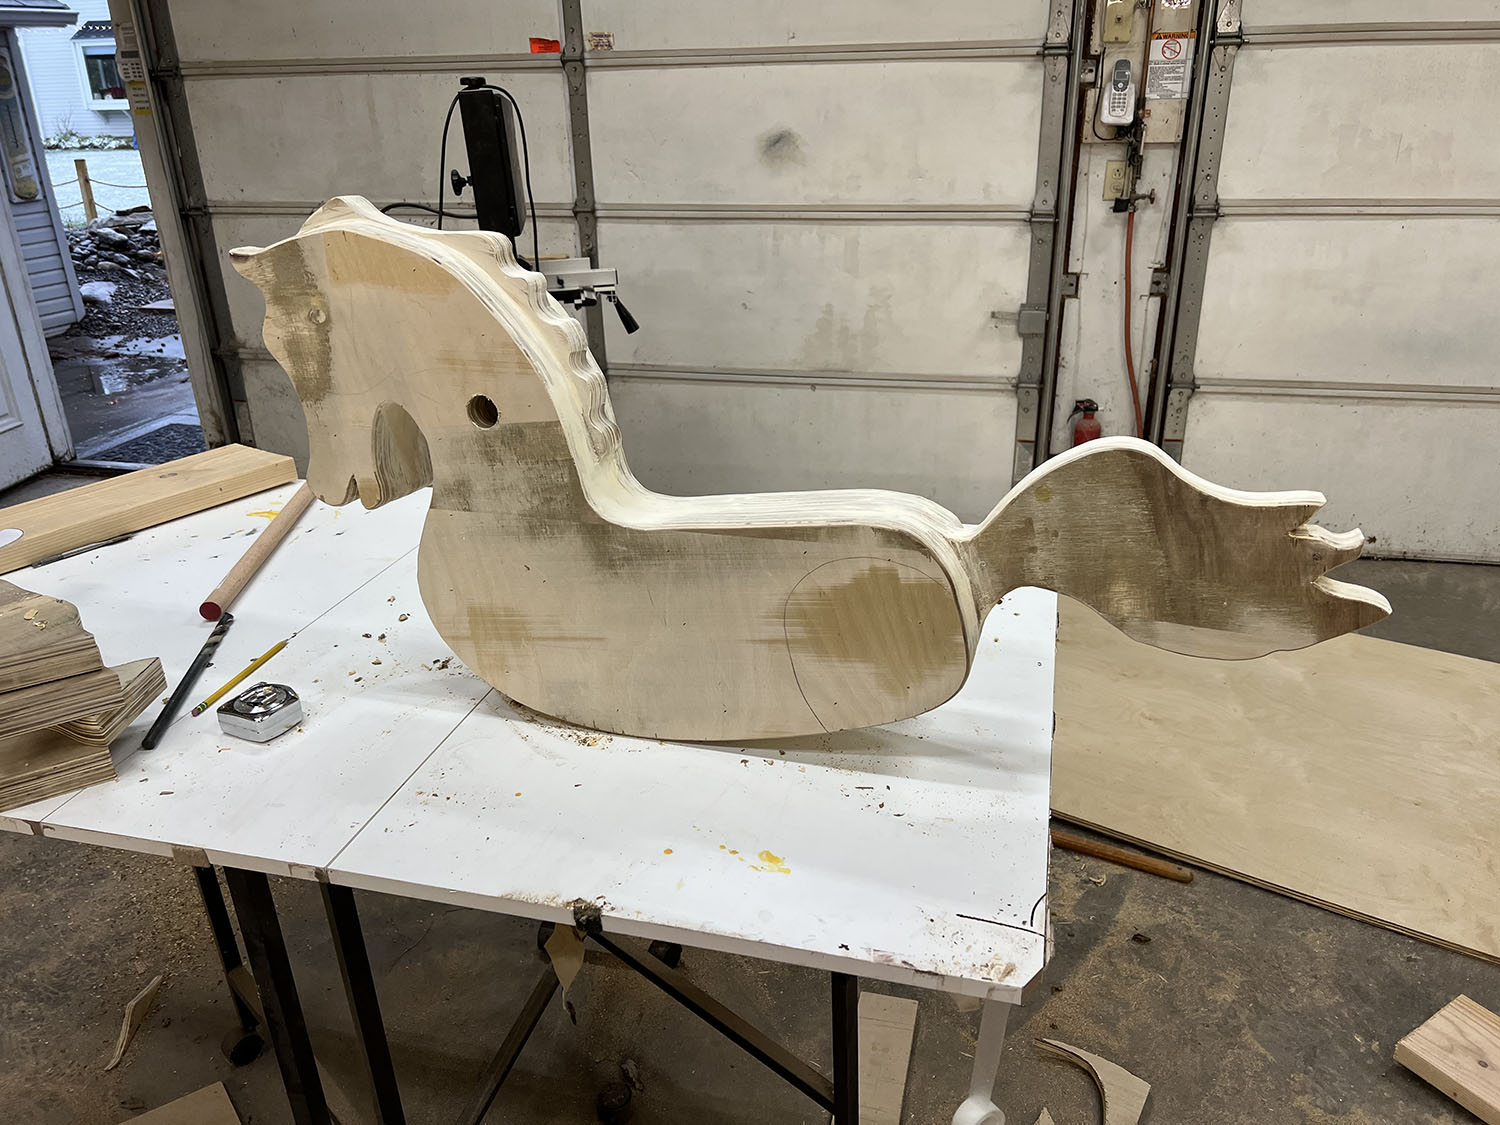
Here is the body sanded, and glued. Sanding this thing took a while at least 3-4 hours of rough sanding. I am lucky that I have a Guinevere Sanding System with a wand attachment, which really helped in getting a more consistent finish. I also needed to pass each piece through my drum sander because the plywood I was using had a lacquer finish I needed to first remove in order to get a good glue bond.
It was good to see this monster block of wood starting to look like a horse though.
With the body and legs now sanded I needed to have a think about how to attach them to make it level and make it fit the stand. Since it is only me in the shop, and only having one pair of hands, it was probably more difficult than it needed to be…
First I assembled the base.
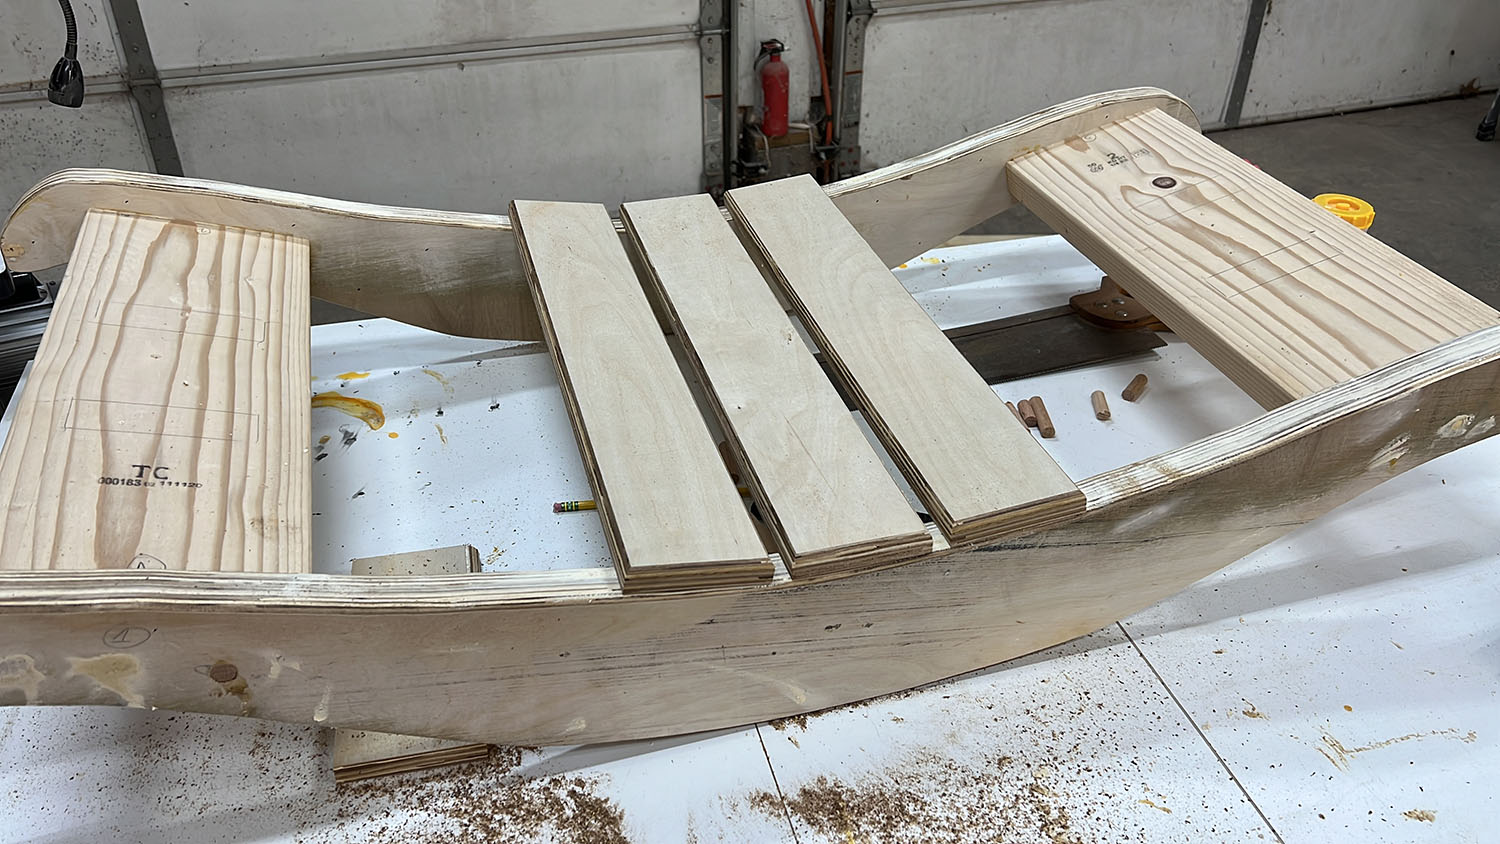
I then marked an outline of the leg placement with a pencil for each leg. I leveled them off and secured in place with a dry wall screw. With the legs in place and being held pretty well I lifted the horse to the platform and marked out where each of the feet would go.
*One quick note* Since I made this 135% the size, I figured that a couple of my smaller boys wouldnt be able to climb on, so I added the platform in the middle. Turned out to be a great choice and I think even if I made a smaller one, I would add the platform too.
So with the feet marked out next up I needed to secure the legs to the body. I used titebond 2 and three 4 inch long 1/2″ dowels for each leg, as well as the 3″ drywall screw. These legs wont ever come off.
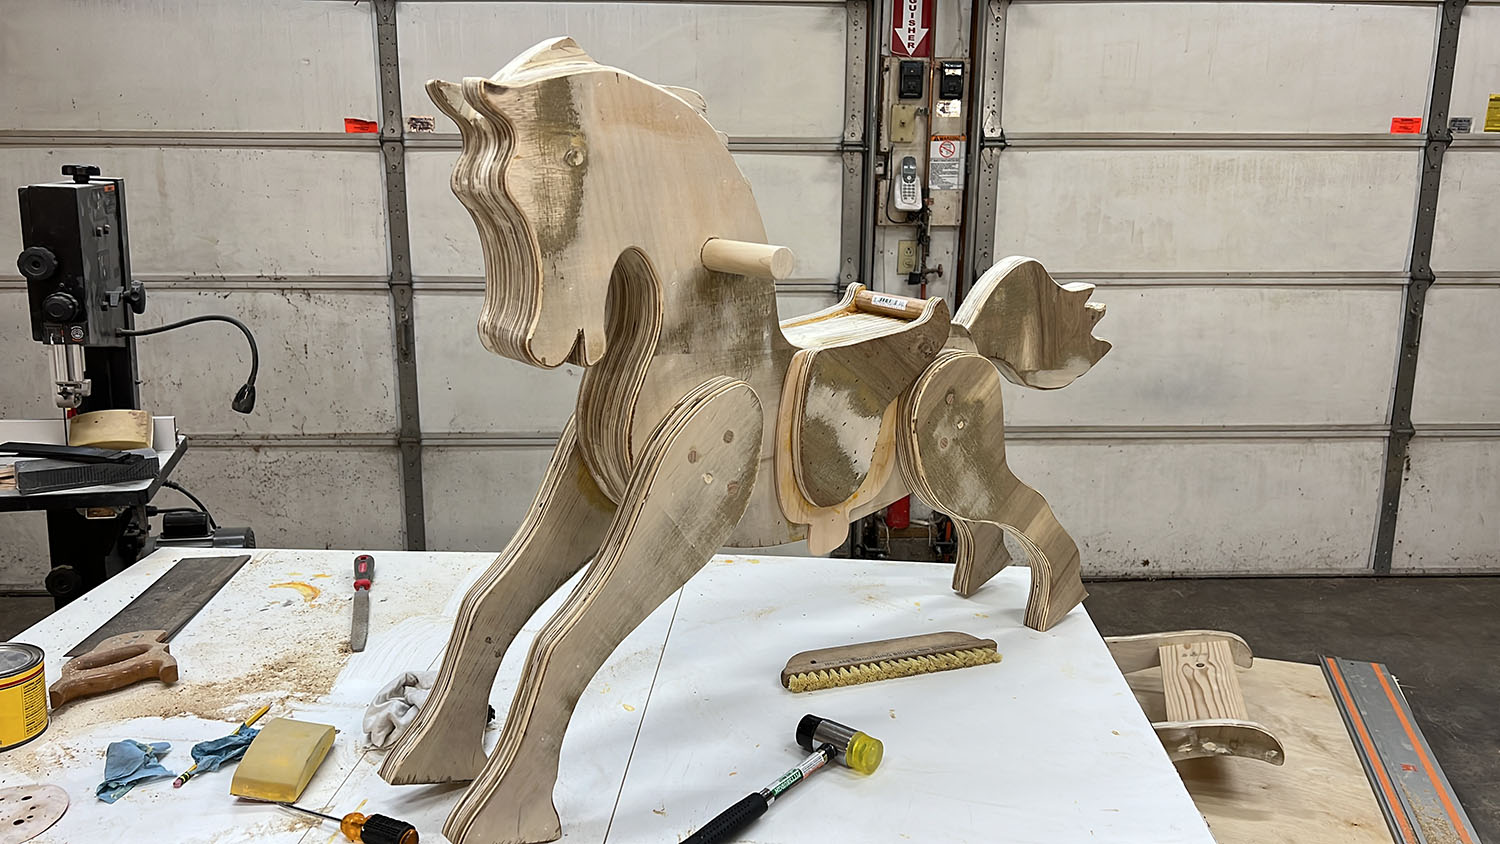
I glued and pinned the saddle pieces and realized I forgot to cut off the “small back of the saddle” pieces. I had some 1″ dowel scraps that was good enough, and since it was being covered – I wasnt too worried.
The next day I went out – lifted the horse to the stand expecting the same perfect fit to the stand I measured twice for… and, No. I was off 3/16″ on one foot. Luckily I had some composite shims left over from a different project so I shimmed it up to make it square and then attached the horse to the base using the same glue and two 3″ drywall screws per foot. This was to clamp it in place while the glue set.
When the glue had set up after an hour or two, I drilled two 6″ holes and added two dowels per foot, glued those in place. This thing is really fixed to the stand.
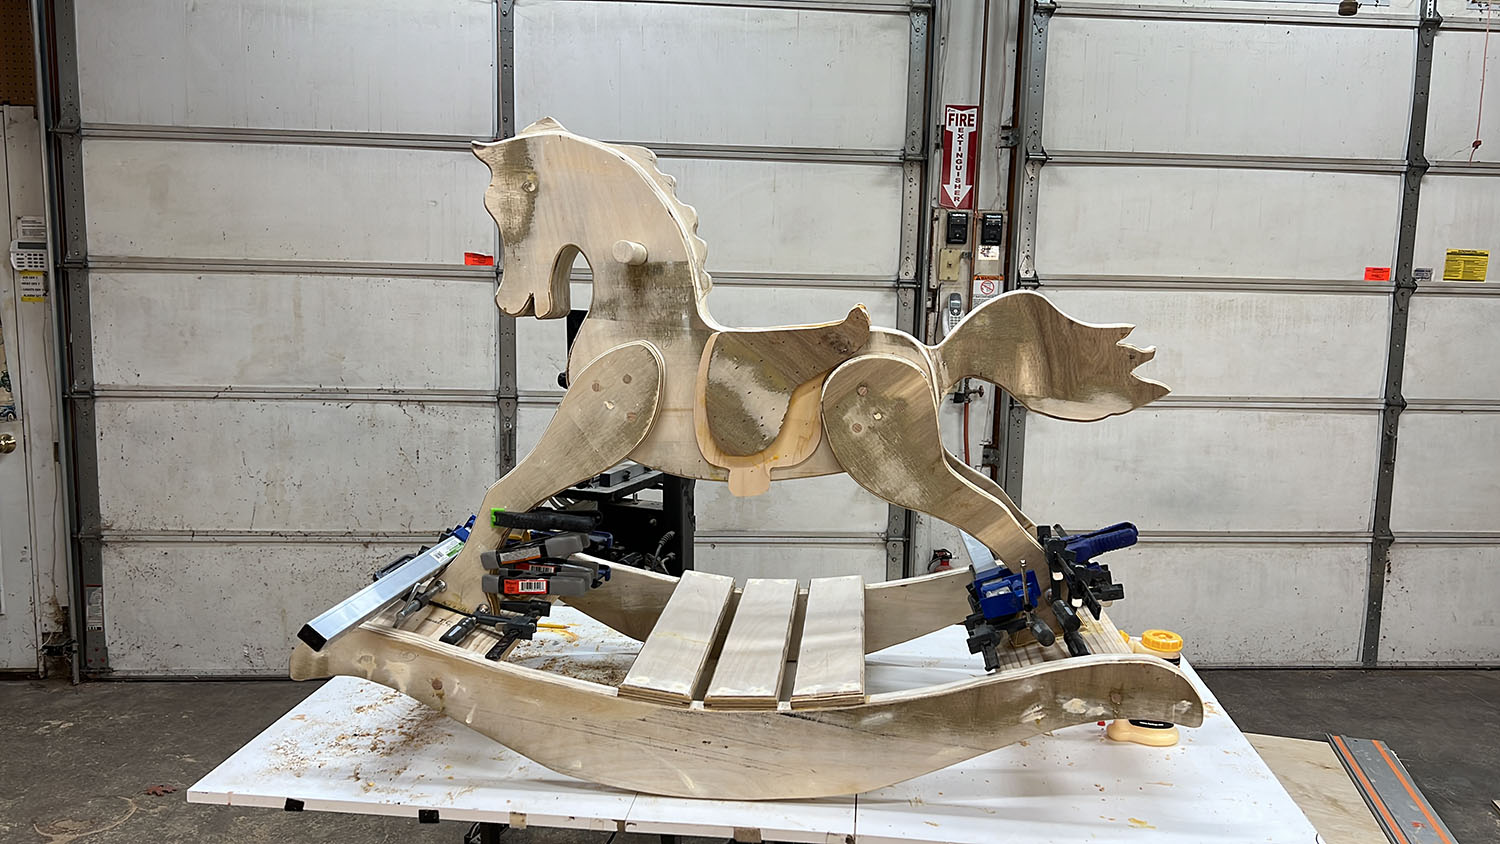
Then a minor disaster. As I was tapping (probably a little to forecefully) I noticed the feet (all 4) were splitting at the bottom. I didnt pilot hole for the screws, so that could have been it. I pounded the dowels in, so that could have been it too.
I did have a minor panic here, thinking that the integrity of the feet would mean that the horse wouldnt bond well to the base.
So carefully I glued, clamped and screwed the feet and said a prayer.
It worked because the next day it was good as new (or so I am telling myself to this day..)
I think having a second pair of hands in place of the drywall screws would mean you can avoid my mistake here. But anyway – my horse was rocking!
I (225lbs) climbed on to give it a test run, and no creaking or signs that the horse was under distress. No movement on the feet.
So then, back to sanding…
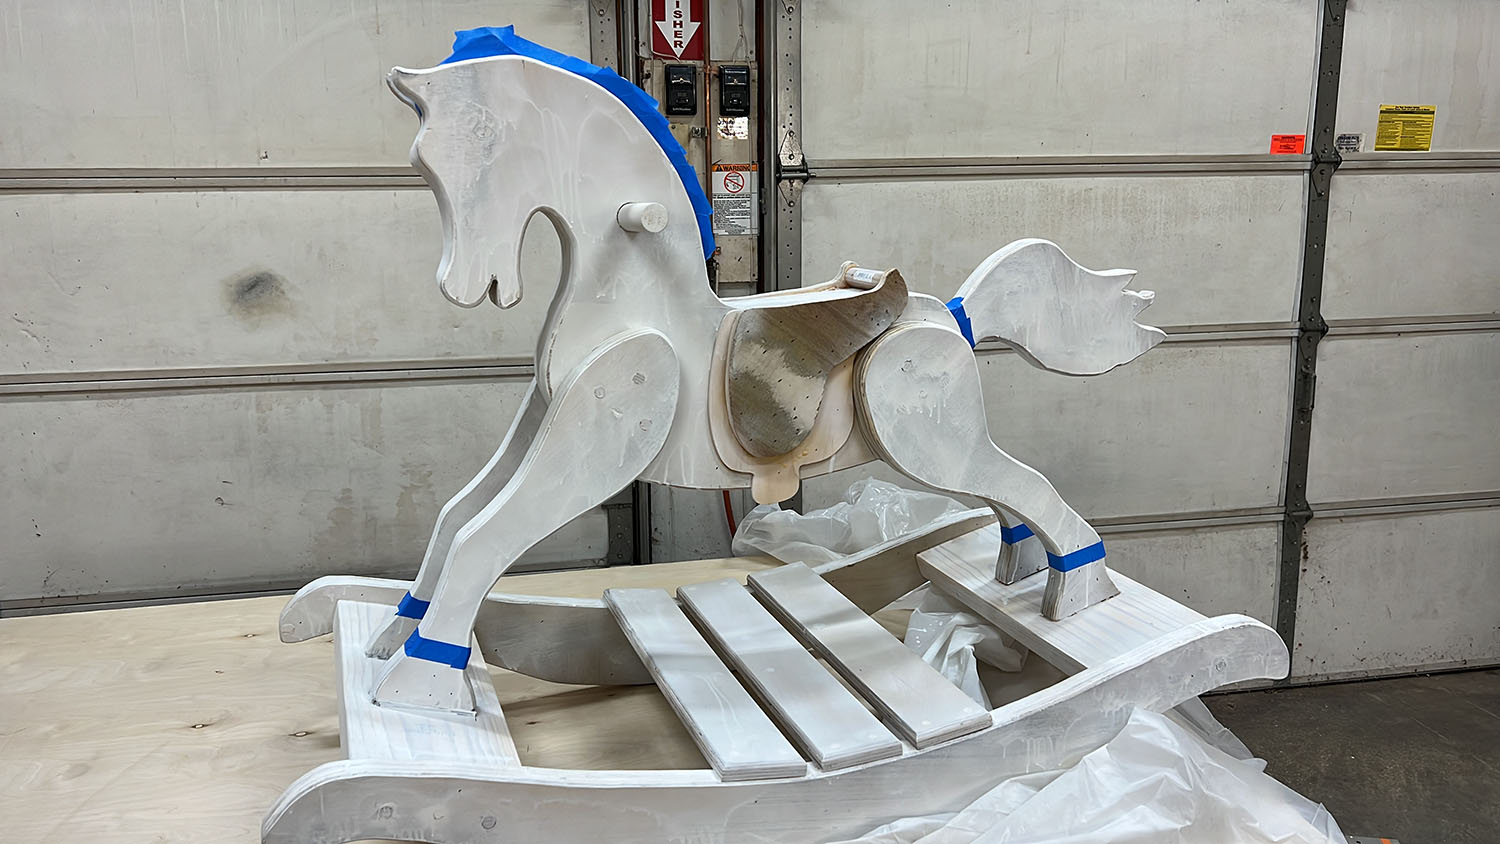
After a final sanding I rounded over the edges using a palm router and round over bit. Then used a Krylon primer. Sprayed the whole thing with 2 coats and let it sit over night.
To this point in the project I hadnt really thought too much about what the horse will look like in it’s final form. So I had my wife pick out colors and then painted.
I do have a paint sprayer, but its a bit big for this and I didnt want to make a mess. It was 25 degrees outside too, so I didnt want to go outdoors to spray it, so I used a good old fashioned brush and threw paint everywhere.
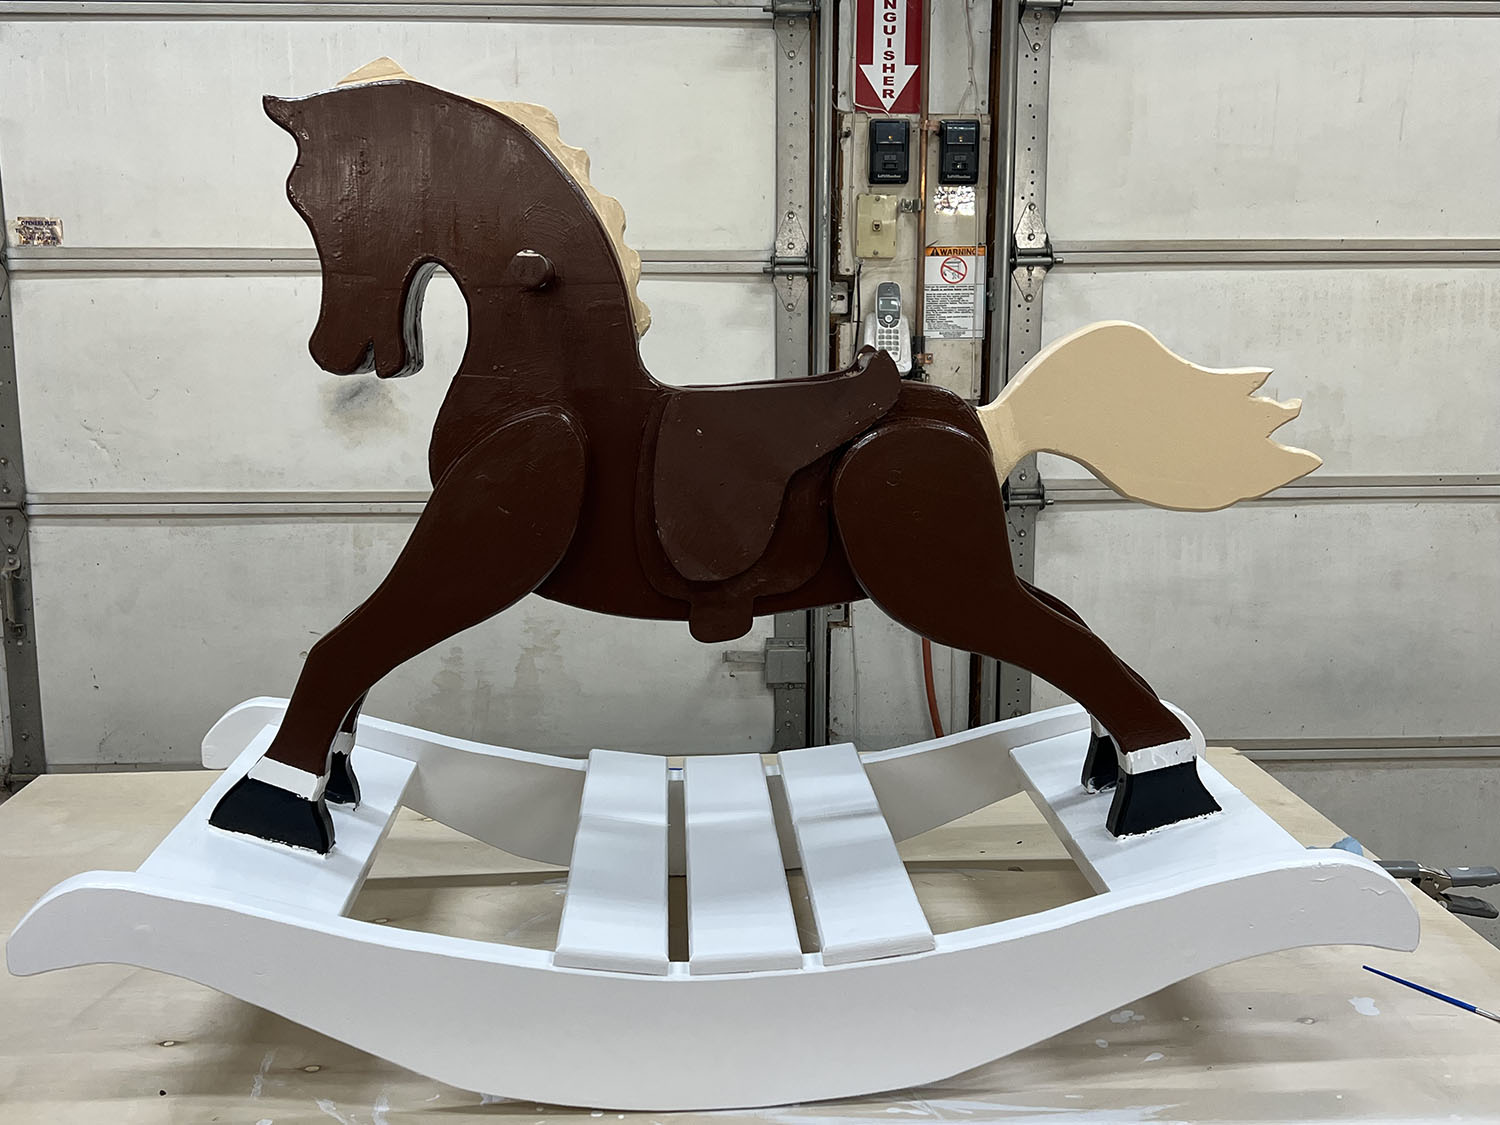
In the middle of the paint job It occurred to me that I could get some fur from a craft store for his legs and head. I needed to go there to get foam for the seat anyway. So I left some white on his feet as a guide for that.
*note* The original plans call for an accent piece for the bottom rockers. I ended up leaving them off for 2 reasons. 1) I didnt want to start a new sheet of 1/8 plywood and 2) the rockers weren’t precise enough and I would need to mess around to get them to fit.
With the horse painted it was time to work on some of the final touches.
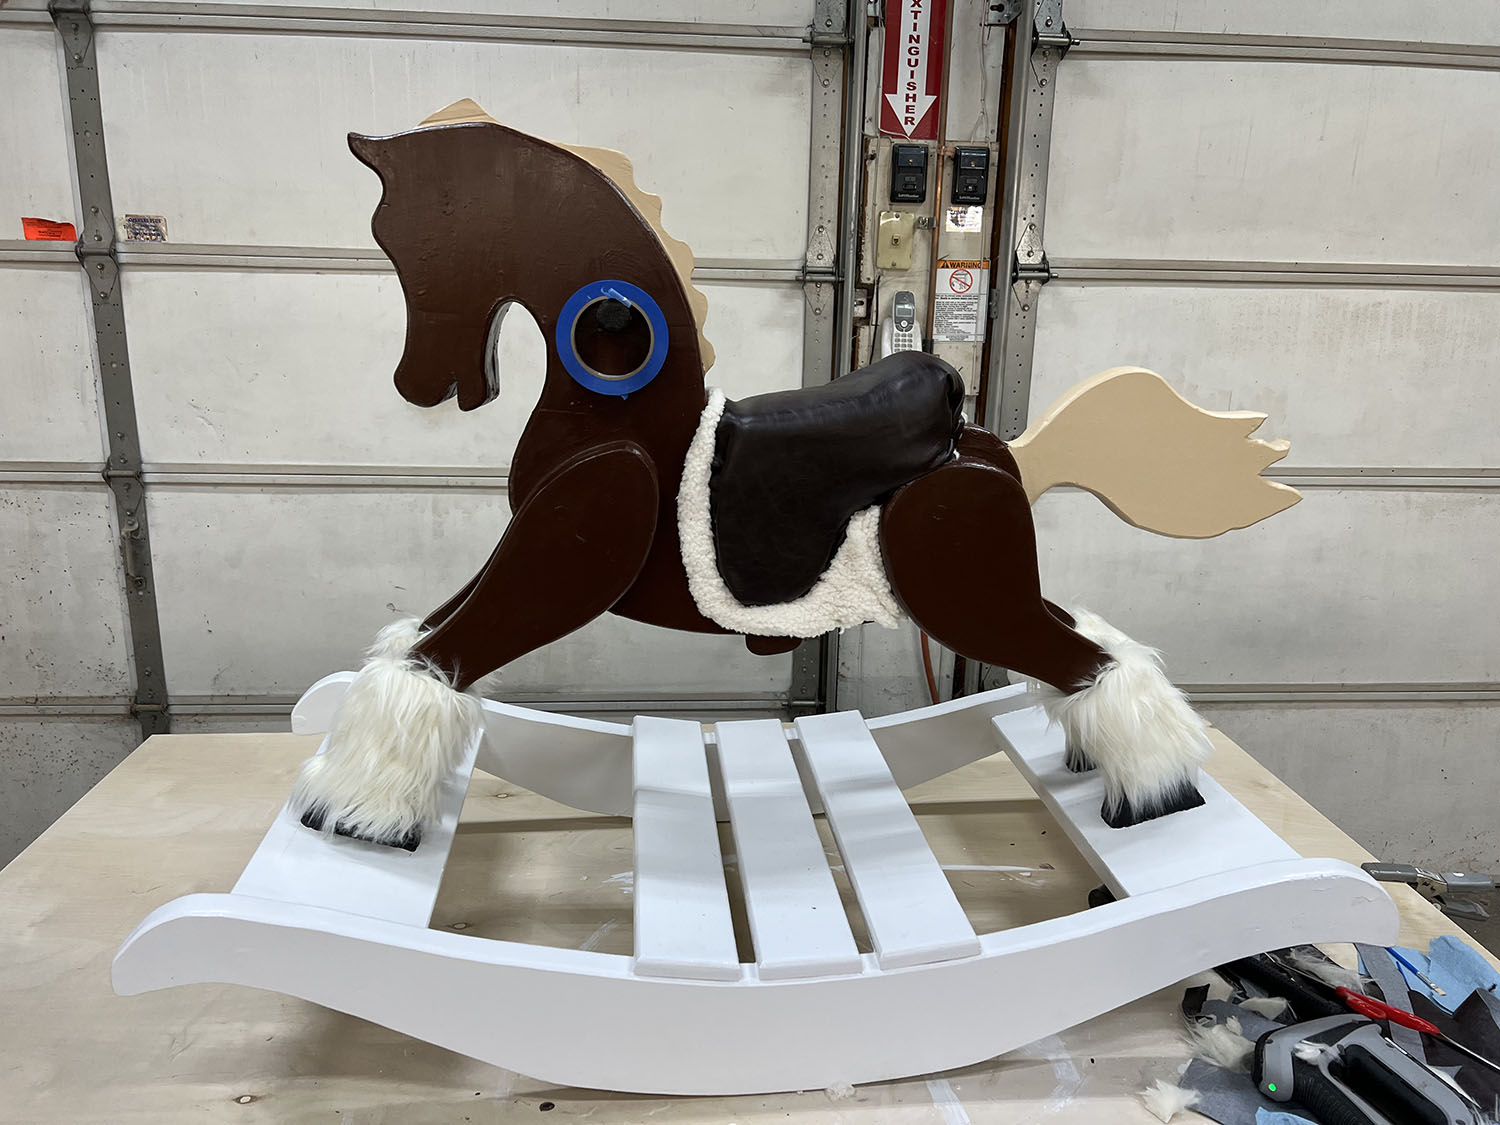
The saddle was a royal pain in the butt – and I am yet to decide how I would go about this again in the future. I might even suggest making the saddle separate to the horse and then adding it on at the end. Because upholstering it in place was a real pain.
Anyway – what I did was:
1) added some foam around the seating area and doubled up the back to make sure none of my boys would slide off – and make it look more saddle like.
2) I added the imitation sheep skin over the foam and stapled it to the larger saddle part to give the effect of a horse blanket.
3) Finally, around the saddle I added some upholstery vinyl and stapled it in place. I screwed this up a bit and didnt pull it tight enough.
I dont remember the last time I upholstered anything and probably should have looked up how to do it. But the saddle complete with horse blanket and memory foam seat was installed. I was able to tuck most of the staples underneath, but for the couple that would be visible I used a brown sharpie to color them, then used a straw and some lacquer to lock the color on there.
I added some fur to the horses head, feet and the base of the tail. This really made the horse look alive. Next up was his face.
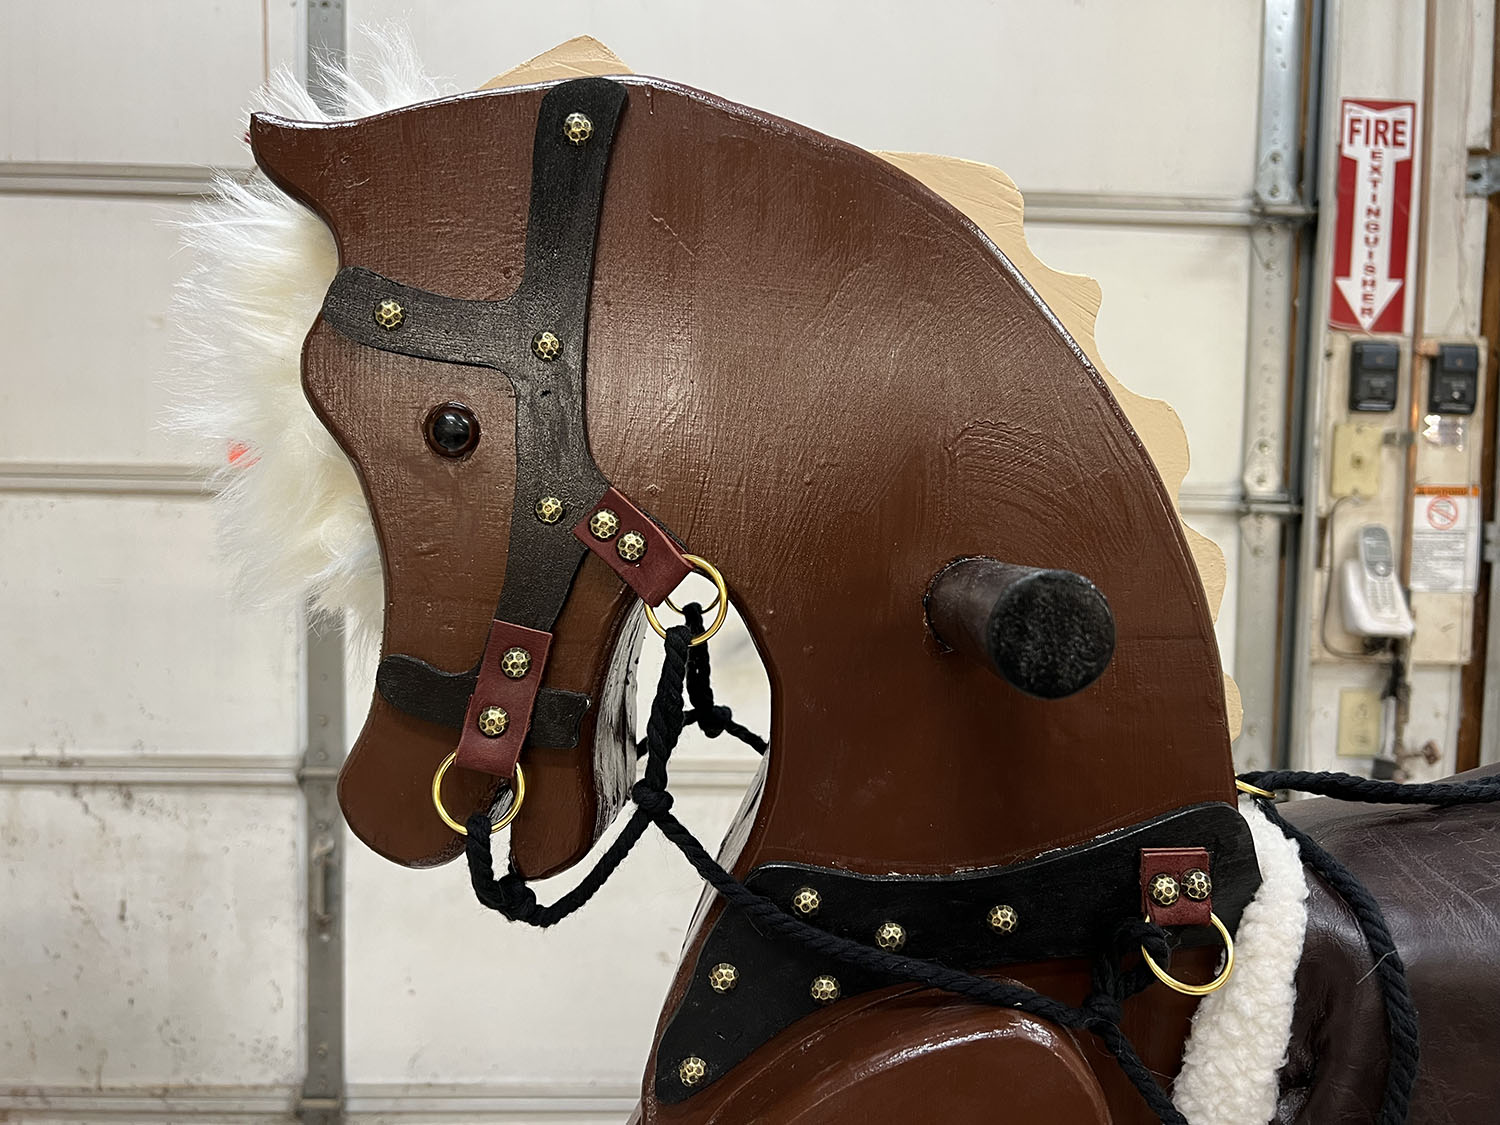
At the craft store I wanted to get some leather to hold the rinds that held the reins. I also picked up a couple of eyes and upholstery nails. (Leather is expensive….)
*tip for upholstery nails and leather* – so the nails I think are 1/2 or 9/16 and by the time they go through the leather and into the horse, you only have a little bit of purchase and I was worried that one good tug and they’d fly out. So what I did was use some 1″ fat head finishing nails to hold the leather in place, then I put the upholstery nails over the top of them so you dont see the fat head nails, but the leather wont get loose.
I added these nails around his bridle and collar too, it made it look a little more fancy.
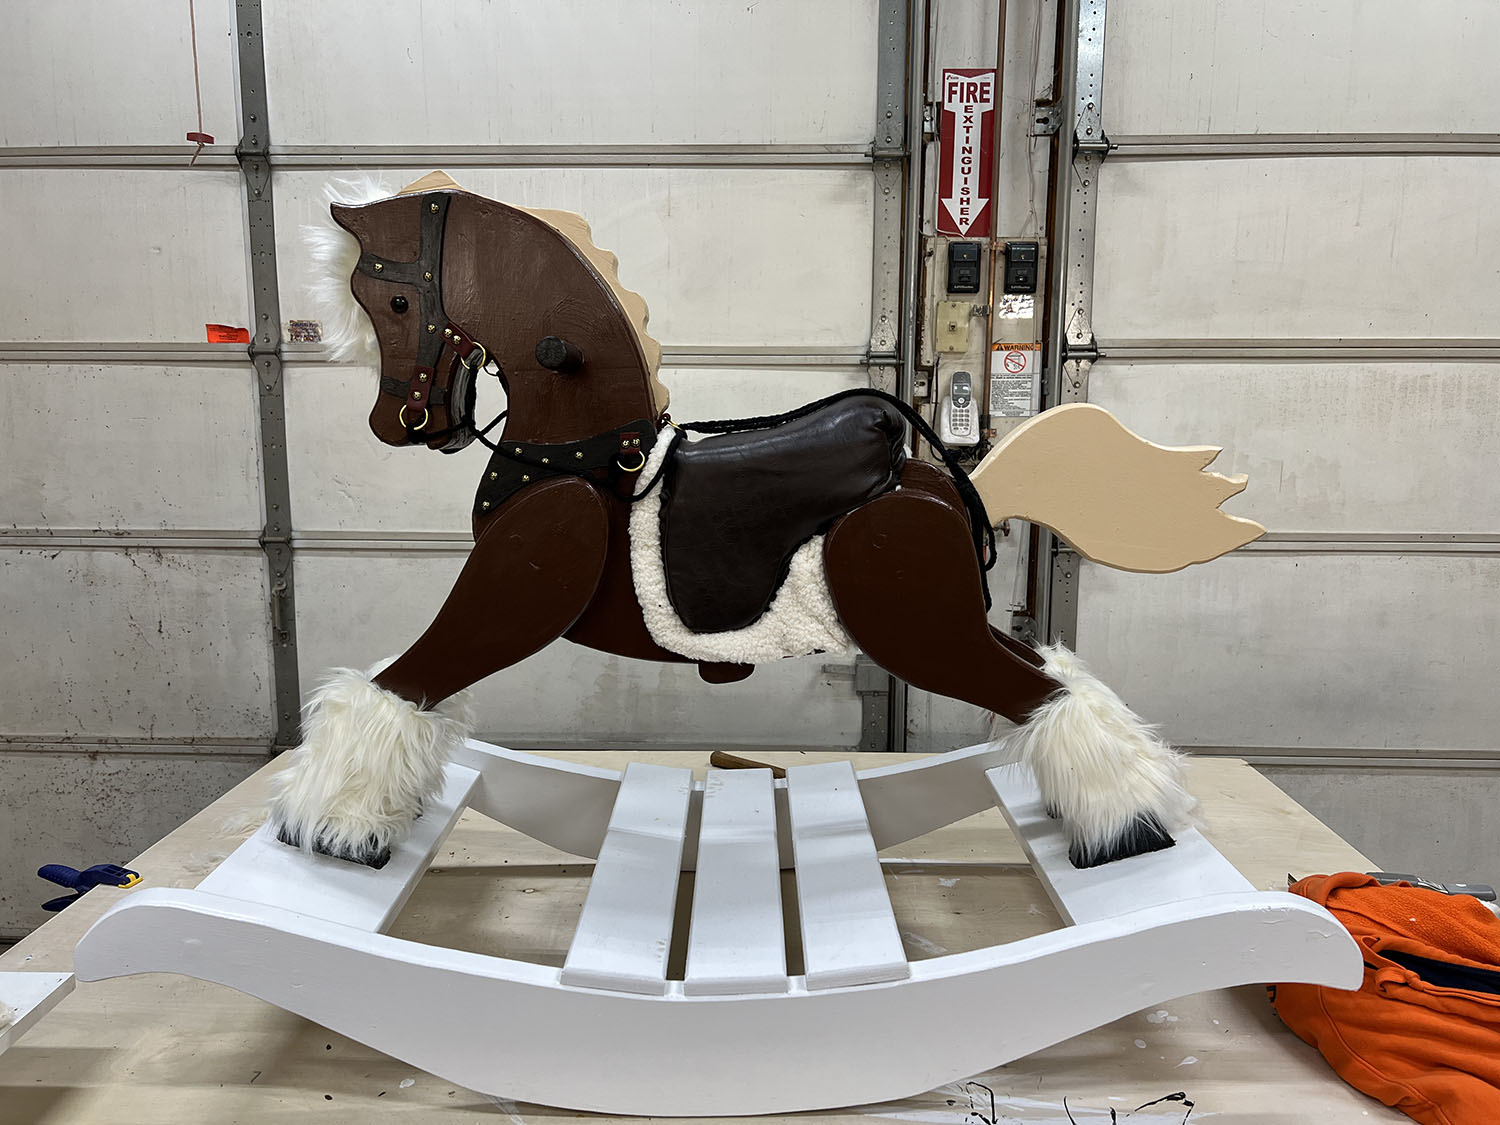
Here he is in his final form. Reins are from some craft rope I had left over in the shop. I will wait and see how they hold up…
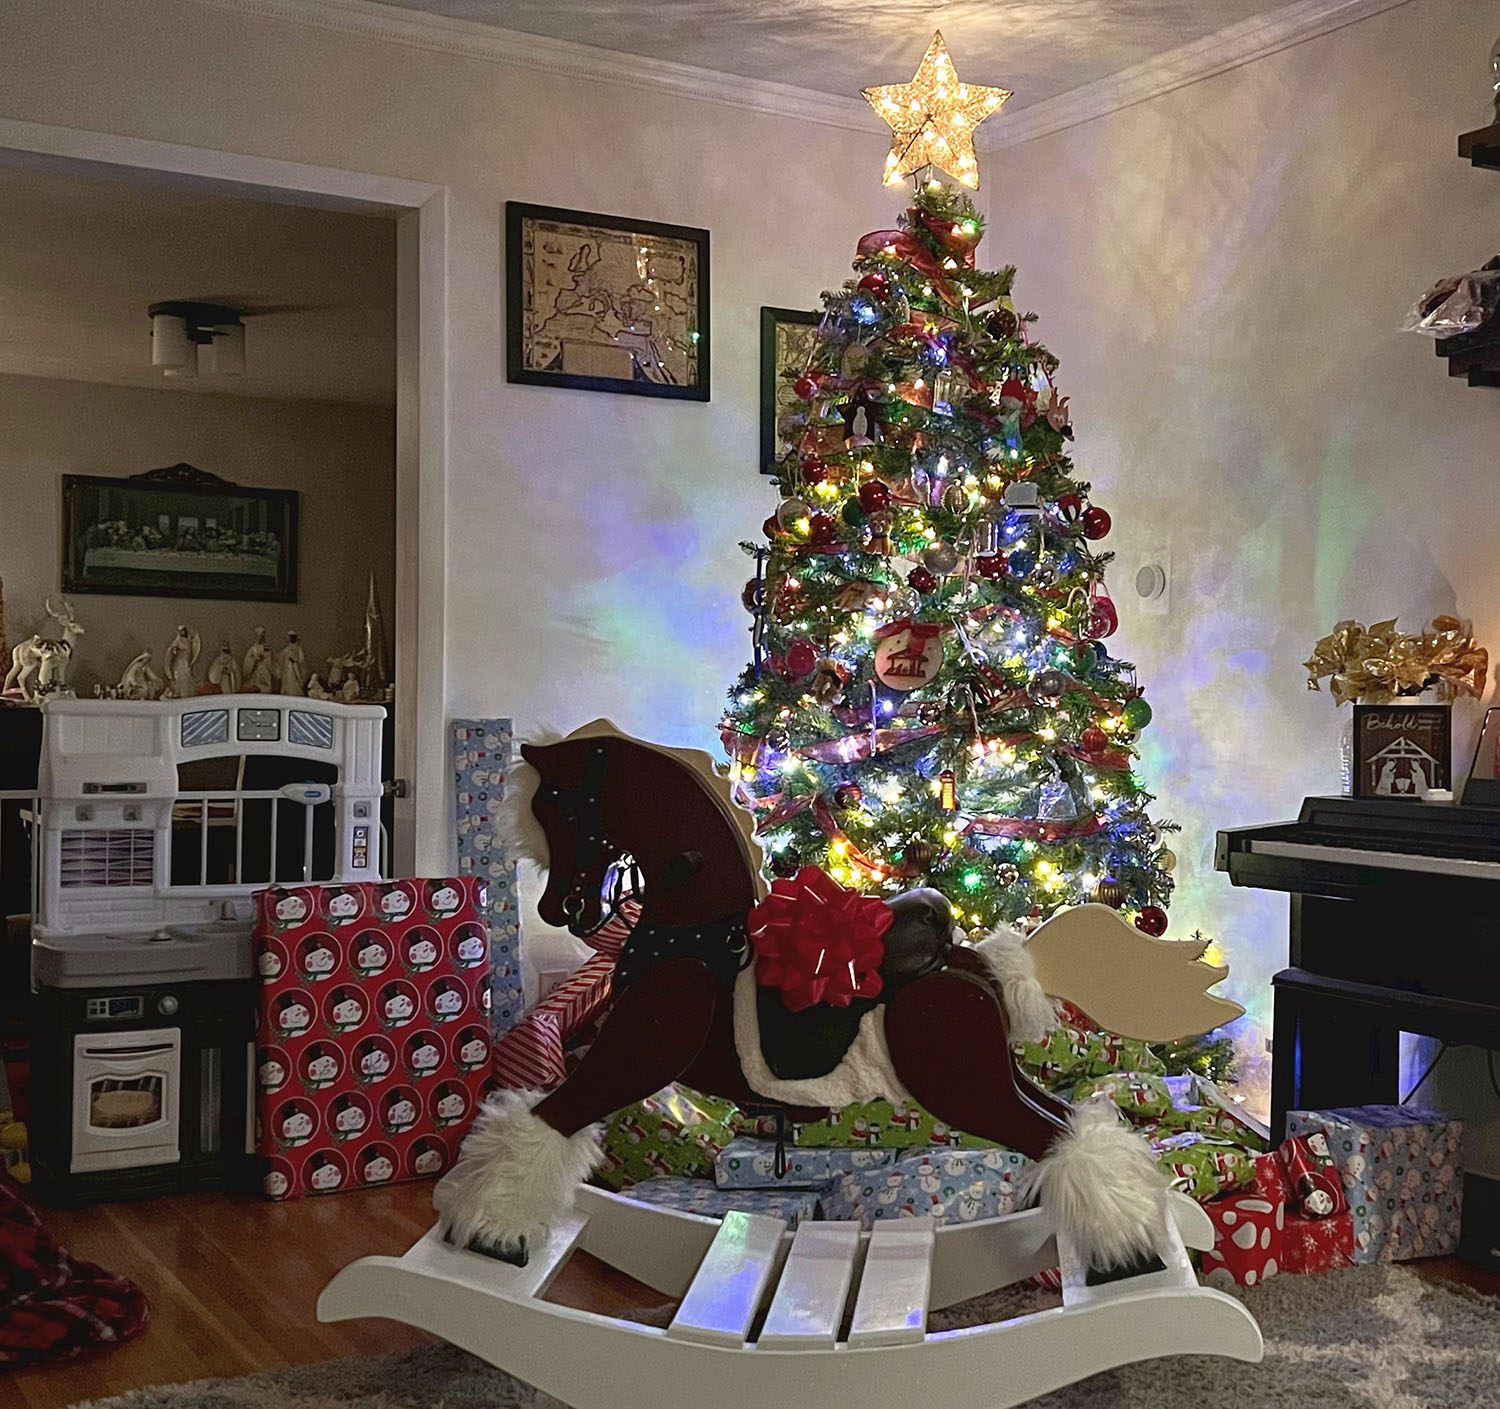
And there he is Christmas morning. Boys all loved him, named him “Ryder” and so far he has lived up to his name as he has had someone on him since they walked into the room.