This is a demo store for testing purposes — no orders shall be fulfilled. Dismiss
Featured Project
A 135% scale heirloom, built for five boys and one Christmas morning.
This Christmas I decided to have a go at building a rocking horse for my boys. I have five sons, four of them under seven at the time, plus some big kids. So this horse needed to carry all of them, which meant scaling the classic design up. Way up.
Chapter 1
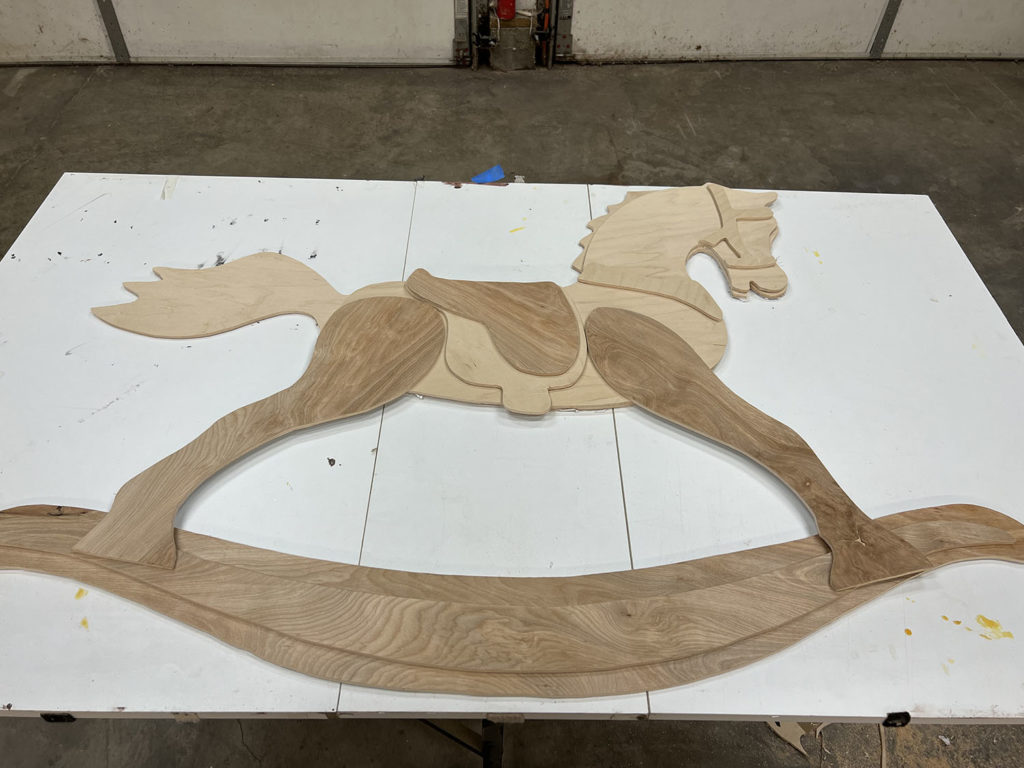
I started with the classic 1890s plans, scaled them to 135% and printed them on 11×17 paper. From those I cut a full set of templates out of 1/8″ MDF-core birch plywood, in case I ever build another horse (plus a backup set at the original size, because I know myself).
The templates also gave me my first real look at just how big this thing was going to be. Answer: big.
Chapter 2
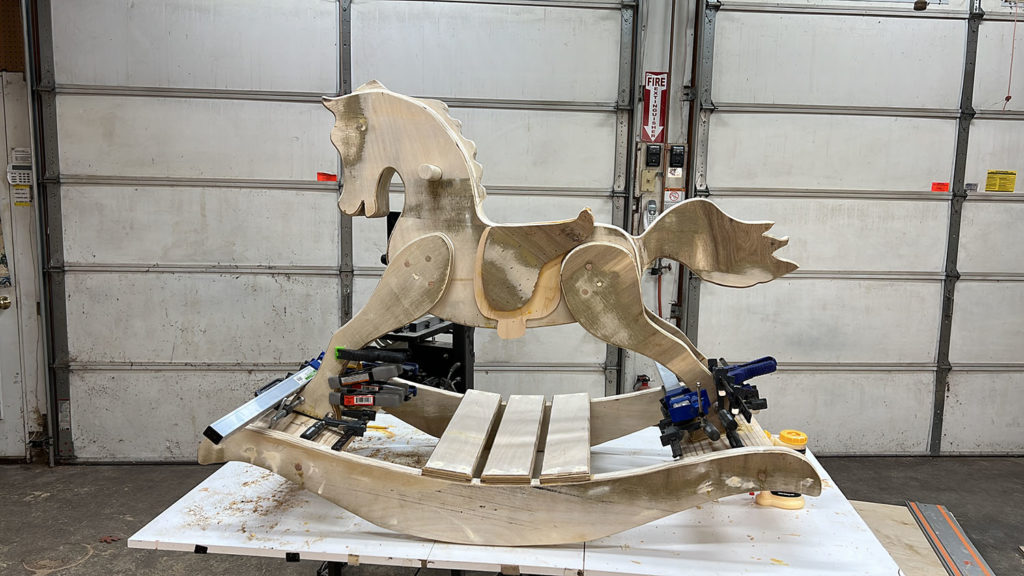
At that size it was either edge-joined boards or plywood, and with about ten sheets of 3/4″ plywood left over, the choice made itself. I got roughly 90% of the parts out of a single 4×8 sheet.
The plan was elegant: rough cut the pieces, tape and CA glue them together, then cut them to the line on the big bandsaw. Two pieces in, I realized that would never work. Too big, too heavy. Back to the jigsaw for every piece.
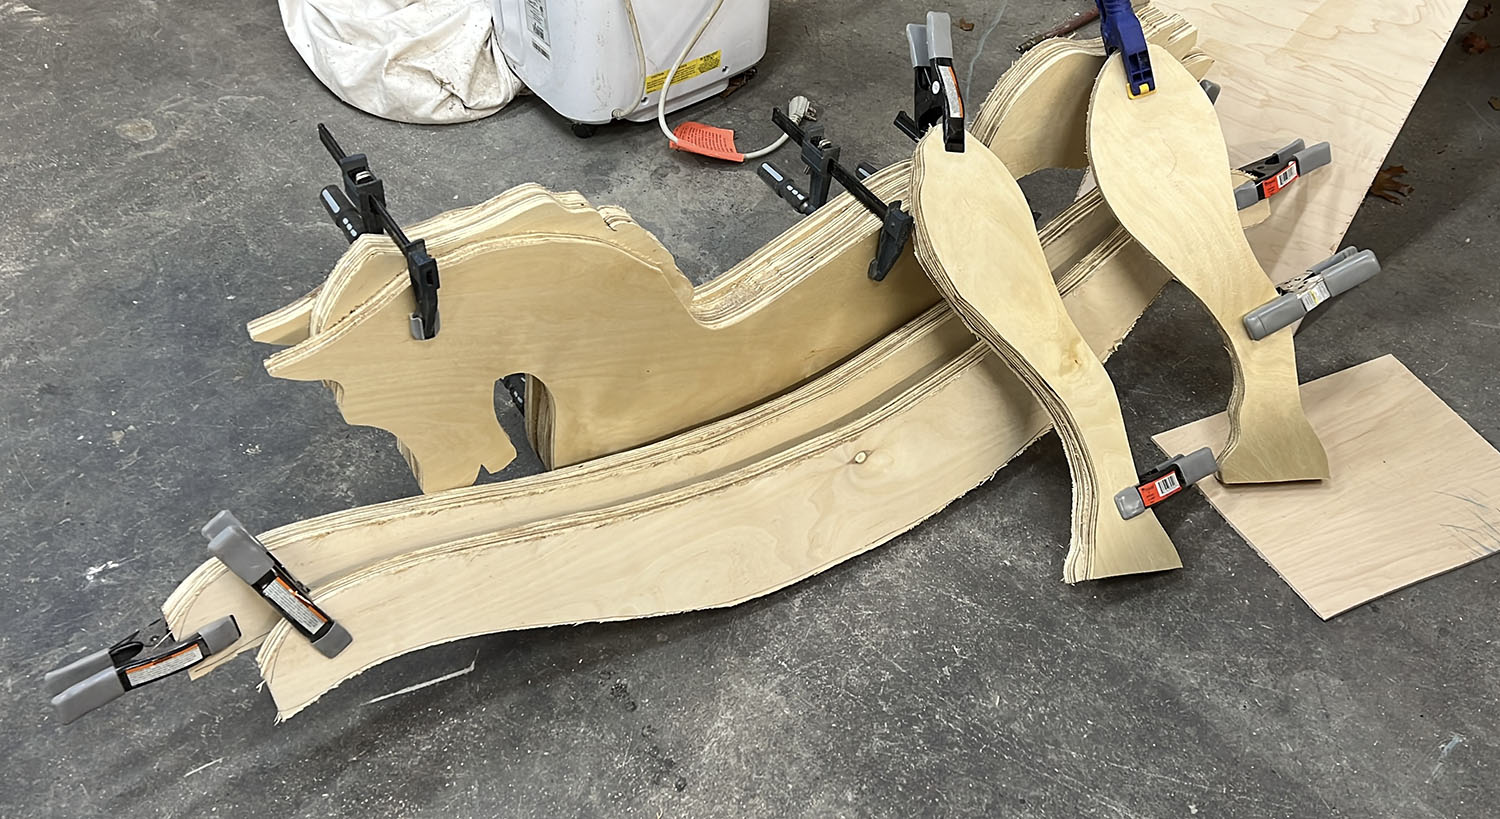
The sides also needed doubling up, so a second sheet joined the party. Better planning might have squeezed it all out of one. It didn’t.
Chapter 3
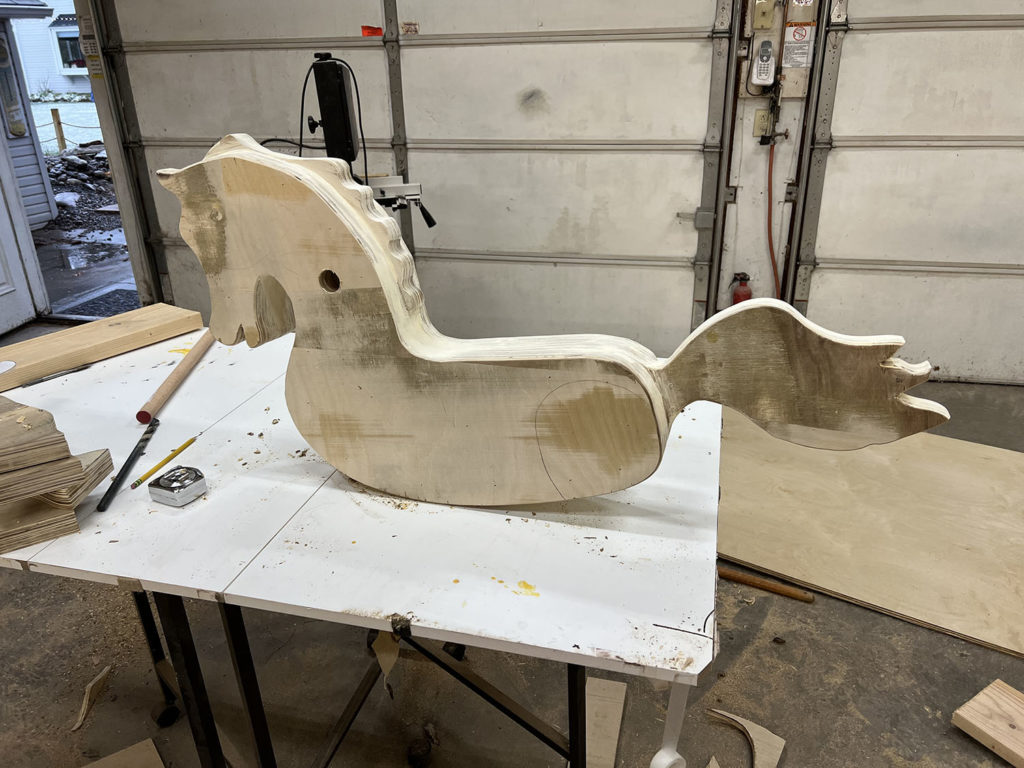
Every piece was cut on its own, so each one was a little “unique.” I lined up what matters most, the head, ears and mouth, knowing the seat would be covered anyway.
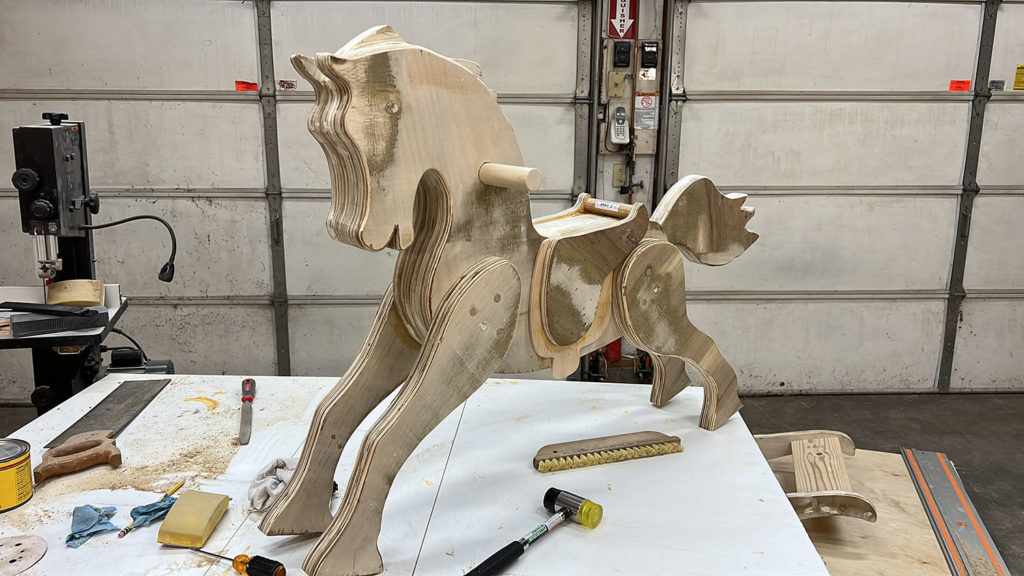
Then came the sanding: three to four hours of it, helped enormously by a sanding system with a wand attachment. Every piece also went through the drum sander to strip the plywood’s lacquer finish so the glue would bond. Slowly, this monster block of wood started to look like a horse.
Chapter 4
With only one pair of hands in the shop, getting four legs level on a stand was more of a puzzle than it needed to be. I built the base first, traced each leg’s position, leveled them, tacked them with drywall screws, then lifted the horse on and marked where each foot landed.
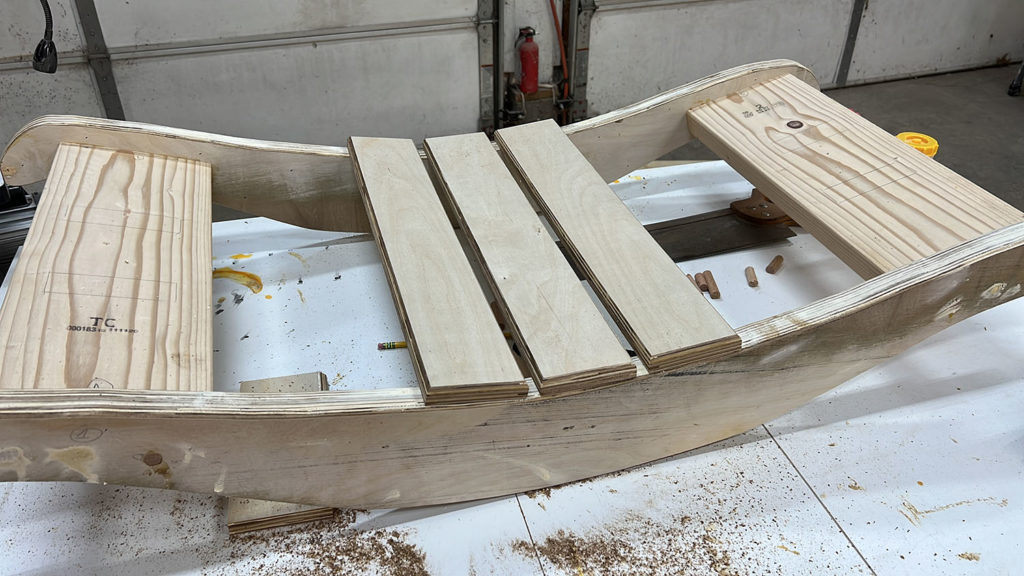
Because this horse is 135% scale, I added a platform in the middle so the smaller boys could climb on. Best decision of the whole build. I’d add one to any size horse.
Each leg went on with Titebond II, three 4″ long 1/2″ dowels and a 3″ screw. These legs are never coming off.
The next day I lifted the horse onto the stand, expecting the perfect fit I’d measured twice for. Off by 3/16″ on one foot. Composite shims to the rescue, then glue, screws and two 6″ dowels per foot.
Then, a minor disaster. Tapping the dowels in (a little too enthusiastically), I watched all four feet split at the bottom. No pilot holes plus a heavy hand will do that. I glued, clamped, screwed and said a prayer. The next morning it was good as new. Or so I’m still telling myself.
Final test: I (225 lbs) climbed on. No creaks, no movement. The horse was rocking.
Chapter 5
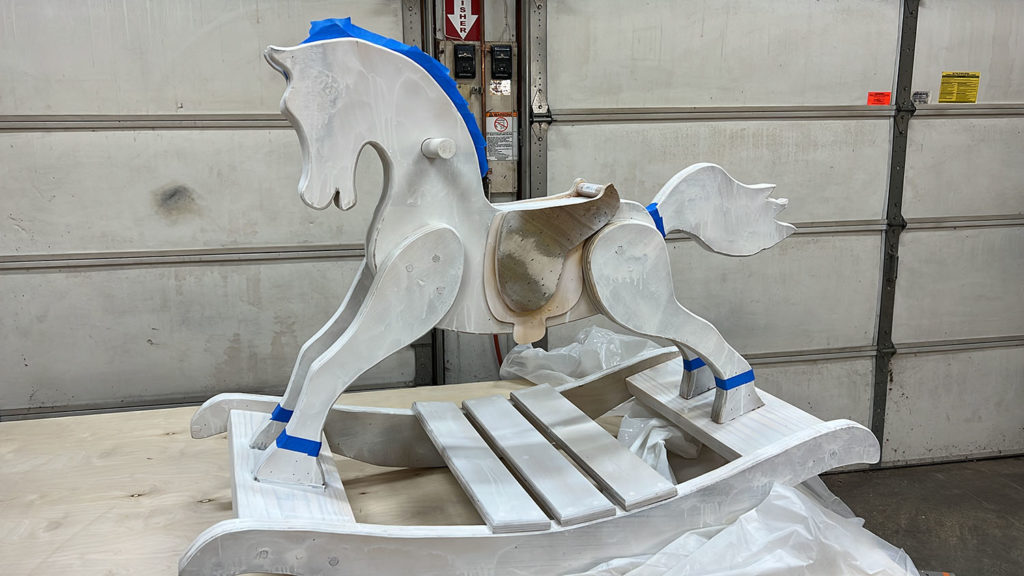
After a final sanding I rounded over every edge with a palm router and laid down two coats of Krylon primer.
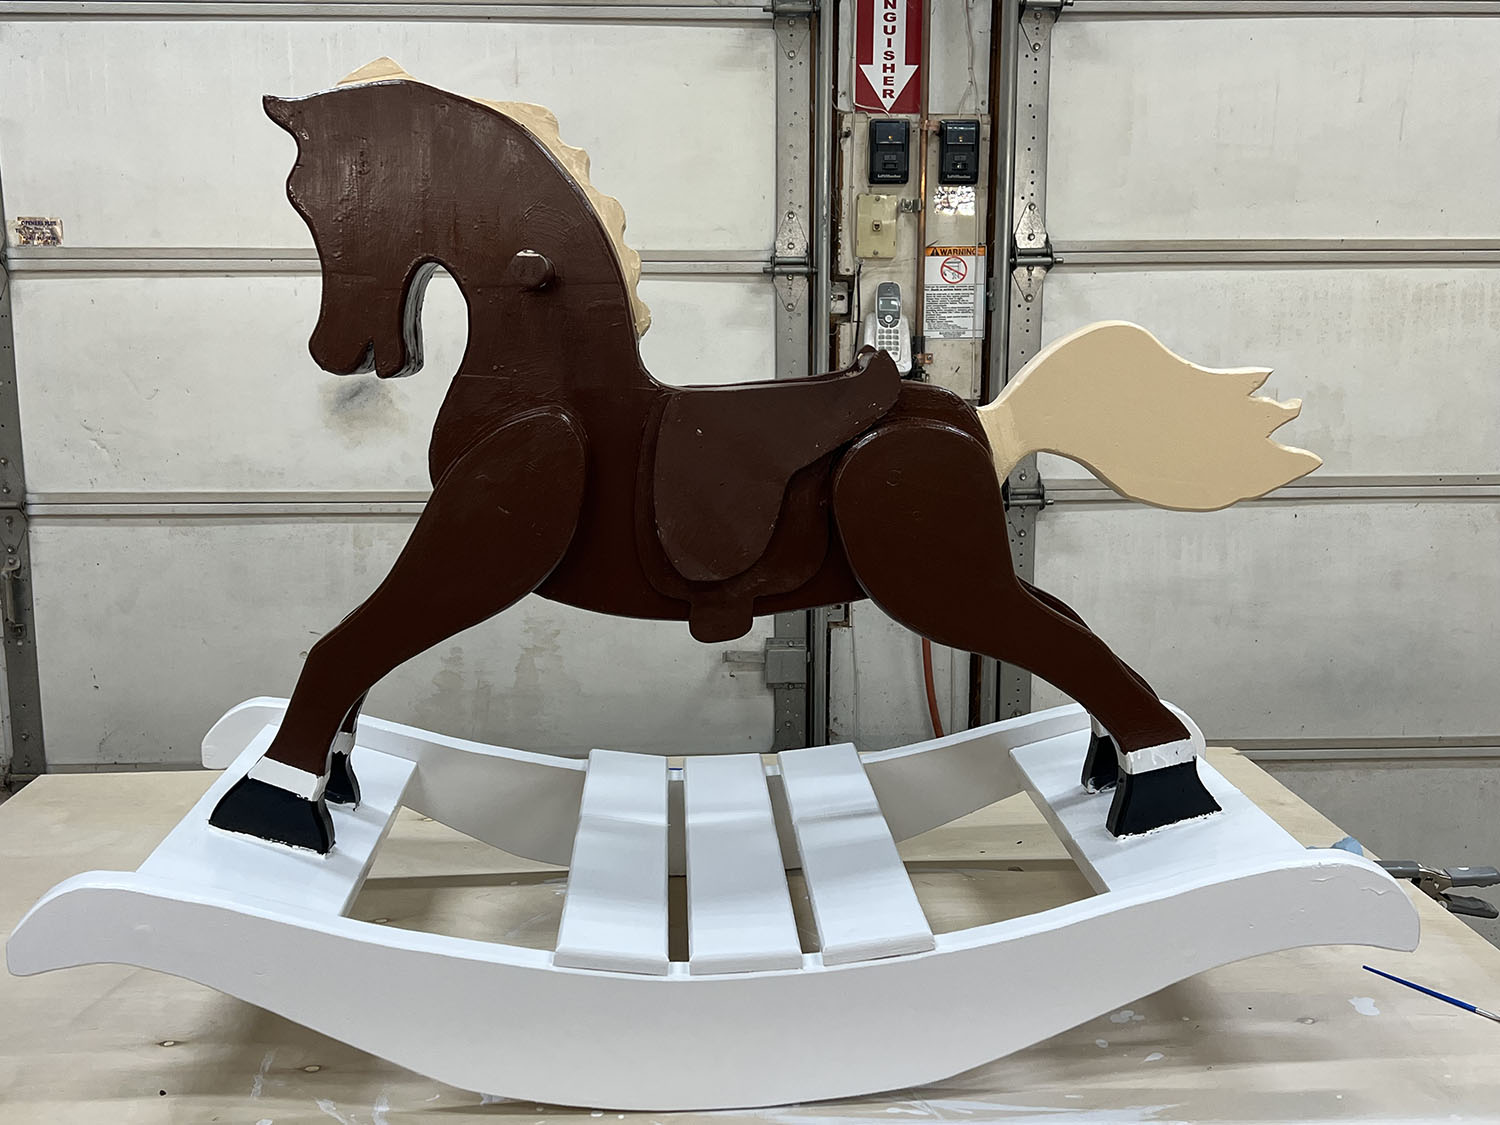
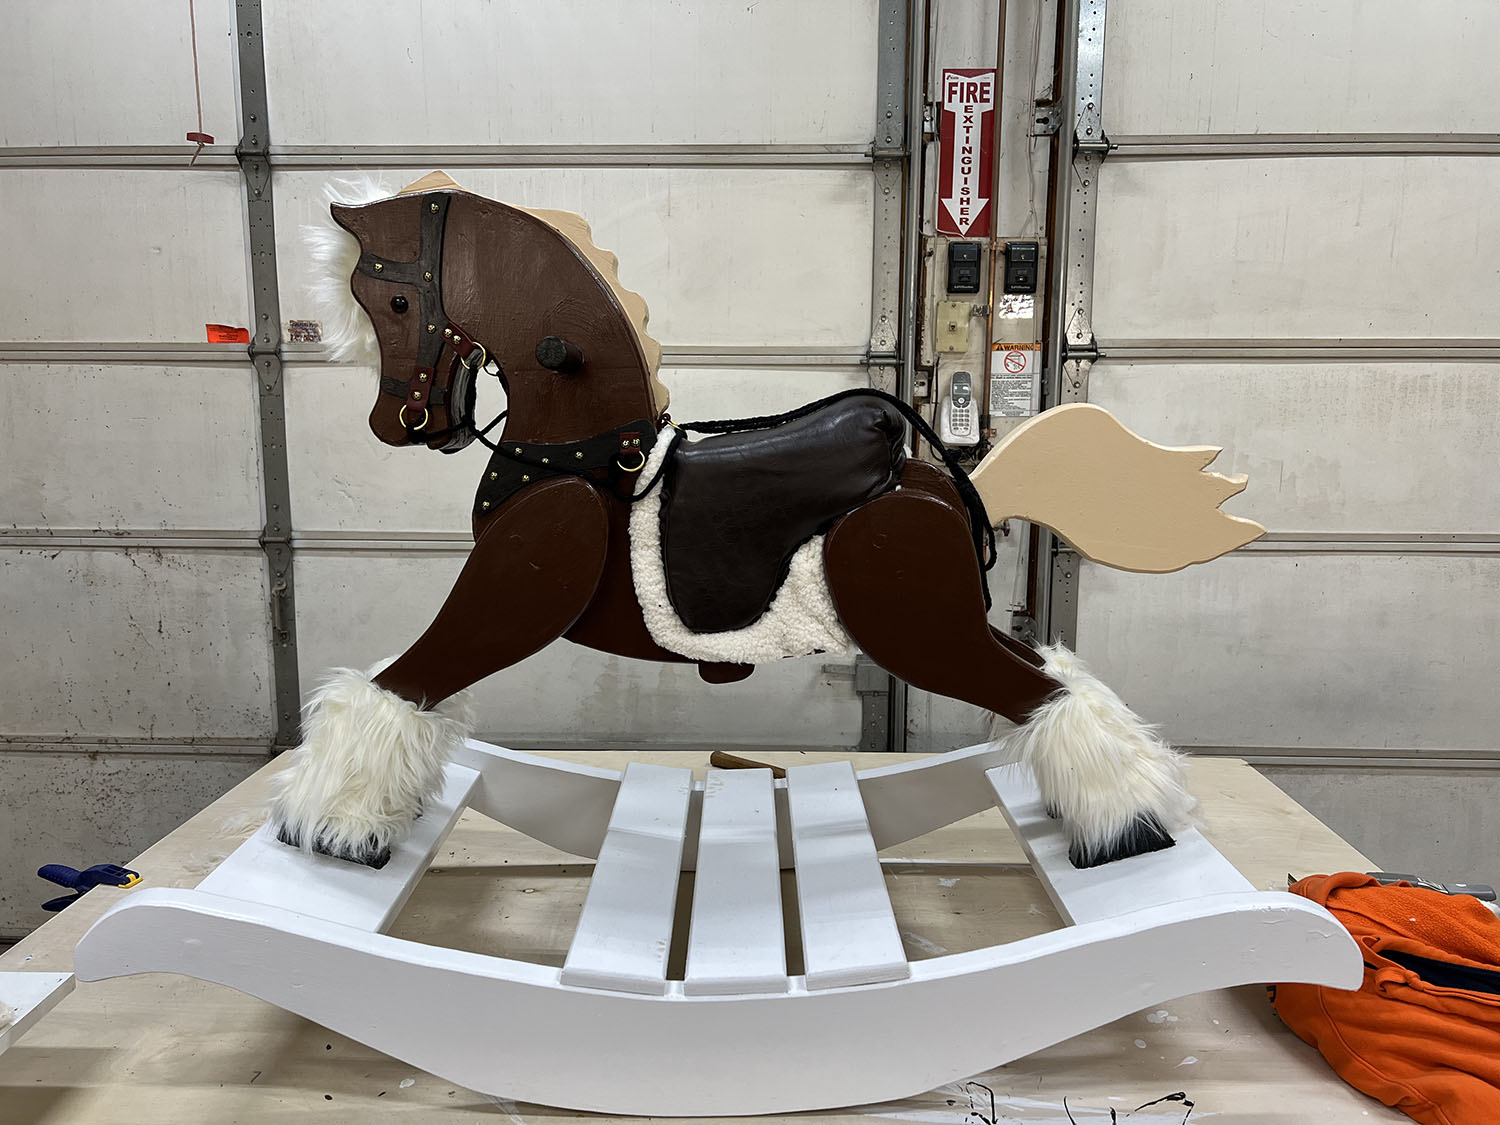
I hadn’t given much thought to how he’d look, so my wife picked the colors. It was 25 degrees outside and the paint sprayer was overkill, so it was a good old-fashioned brush and paint everywhere. Halfway through I decided he needed fur, so I left his feet white as a guide.
The original plans call for accent pieces on the rockers. I skipped them: I didn’t want to start a new sheet of plywood, and the rockers weren’t precise enough to fit them without a fight.
Chapter 6
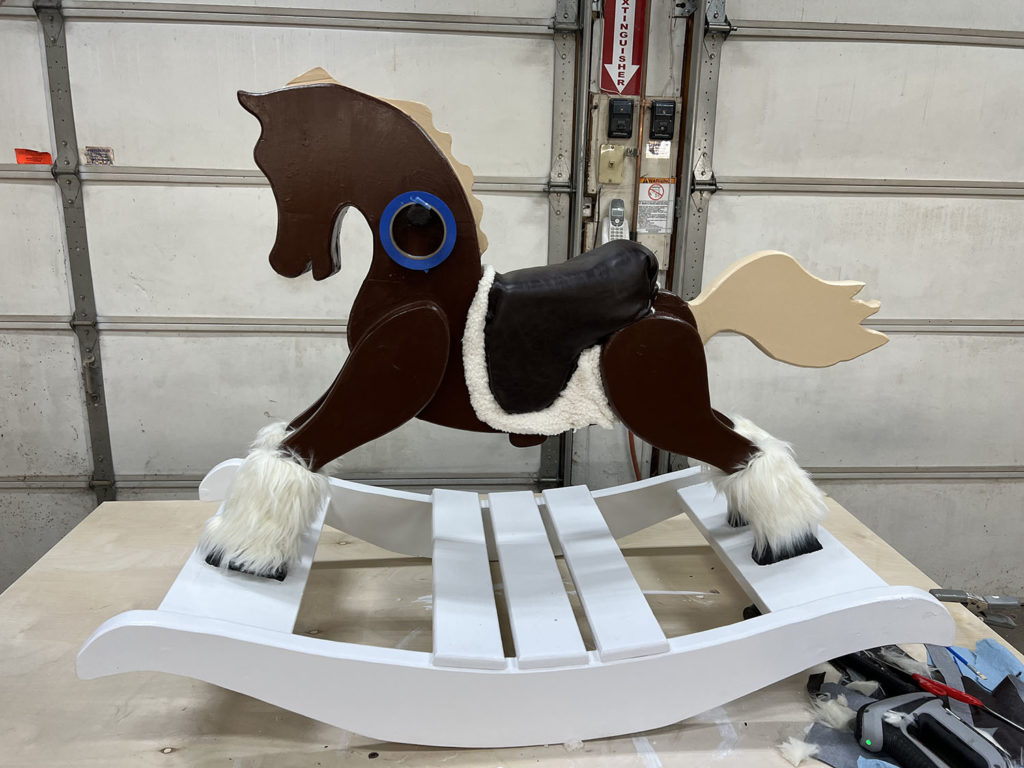
The saddle was a royal pain in the butt. Next time I’ll build it separately and attach it at the end, because upholstering in place was not fun.
The recipe: foam around the seat, doubled at the back so nobody slides off; faux sheepskin over the foam as a horse blanket; and upholstery vinyl around the saddle, which I didn’t pull quite tight enough.
I tucked most of the staples underneath and colored the few visible ones with a brown Sharpie, sealed with a dab of lacquer. Nobody has ever noticed. Until now.
Chapter 7
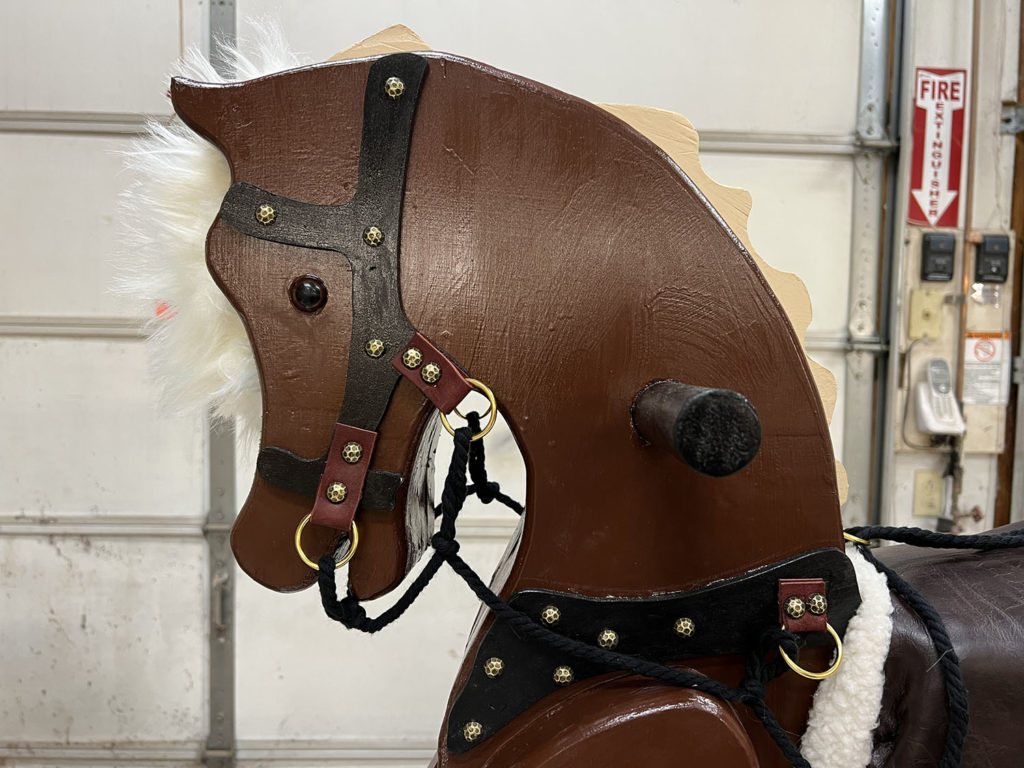
Faux fur on the head, feet and tail made him look alive. A trip to the craft store added eyes, upholstery nails and leather for the bridle. (Leather is expensive.)
Pro tip: short upholstery nails don’t grip much once they’ve gone through leather. I pinned the leather with 1″ fat-head finishing nails first, then set the upholstery nails over the top. You get the look without losing the bridle on the first good tug.
The reins came from leftover craft rope. Time will tell how they hold up.
Chapter 8
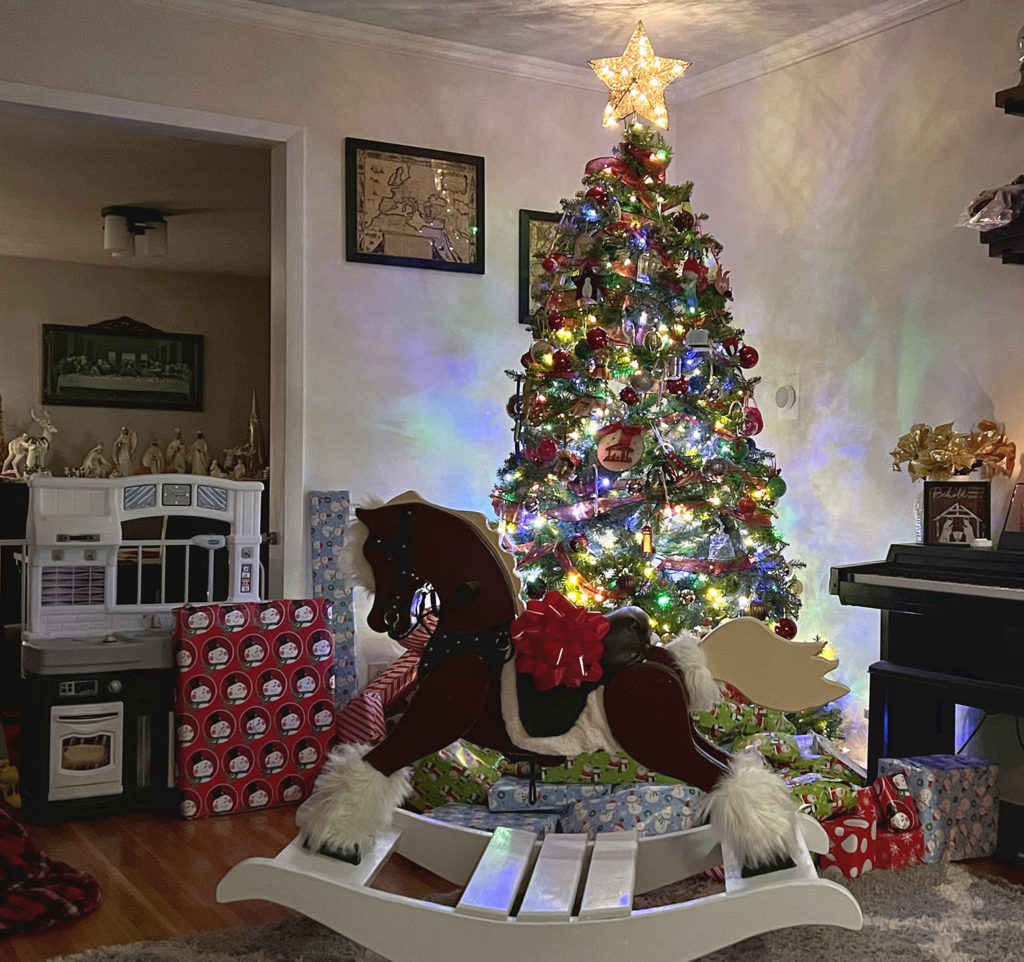
The boys loved him. They named him Ryder, and he has lived up to the name, with someone on his back from the moment they walked into the room.
Every piece we make is built to be used, loved and passed down. Tell us what you have in mind.